
How to Add/Insert an Image Into a Table Cell in WordPress
- By
- 3 Comments
If you’ve made a table in a WordPress post or page and now you’re wondering how to add/insert an image into a particular table cell then you’re in the right place.
This post is for you!
So what to do? How to do it? Let’s get straight into it…
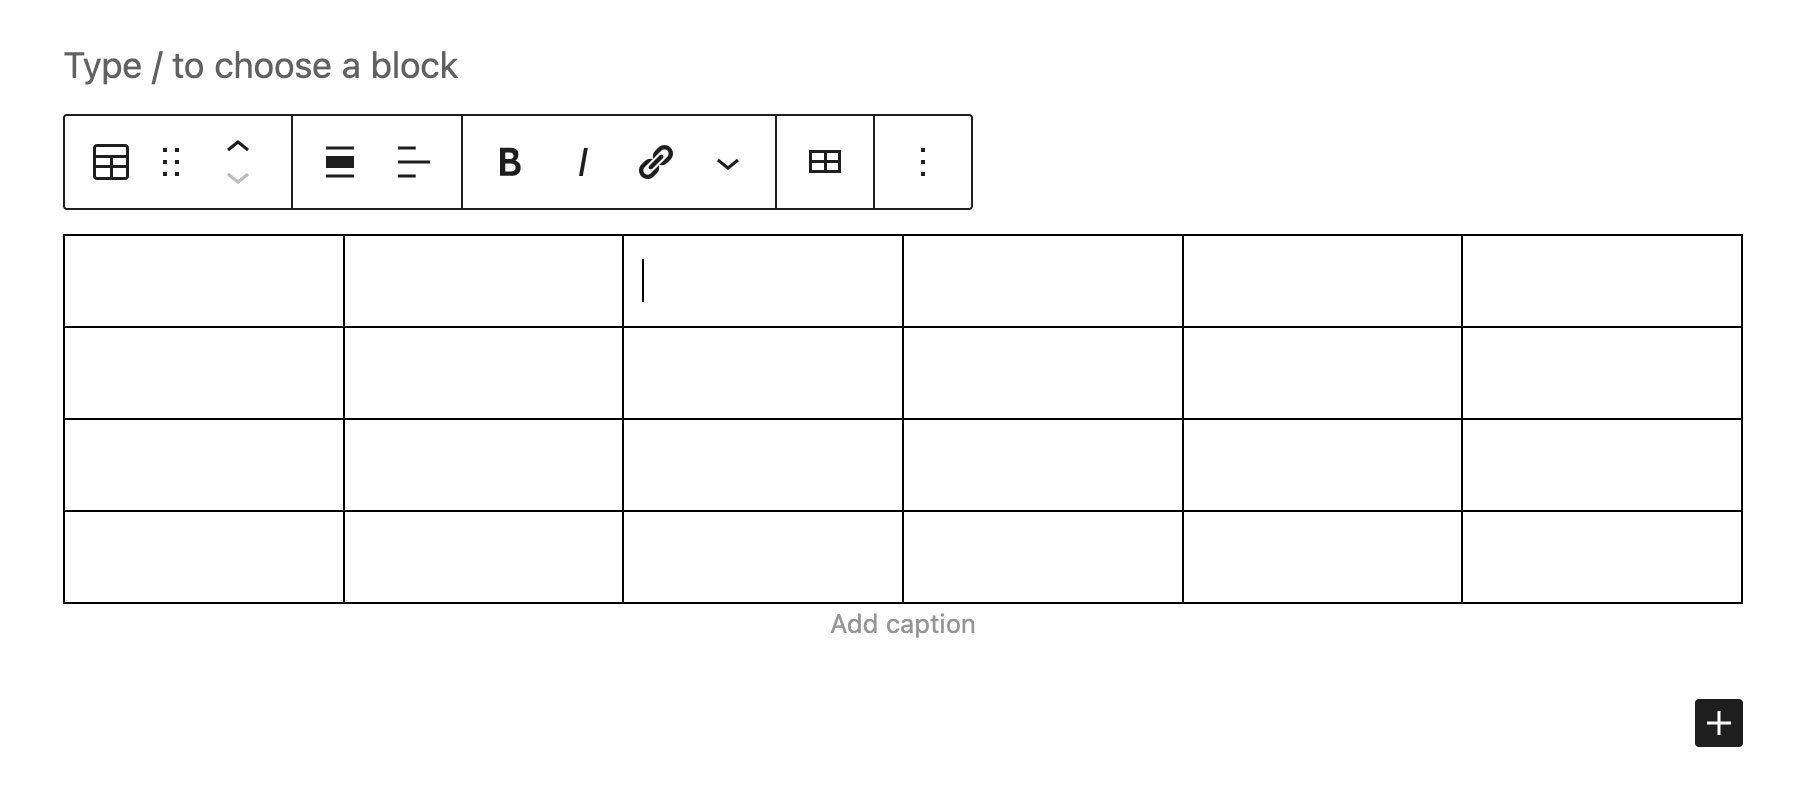
Step 1: Click your mouse/trackpad in the cell you want to insert the image:
You should then be looking at something like this:
Step 2: The secret is then the little downward pointing arrow shown here:
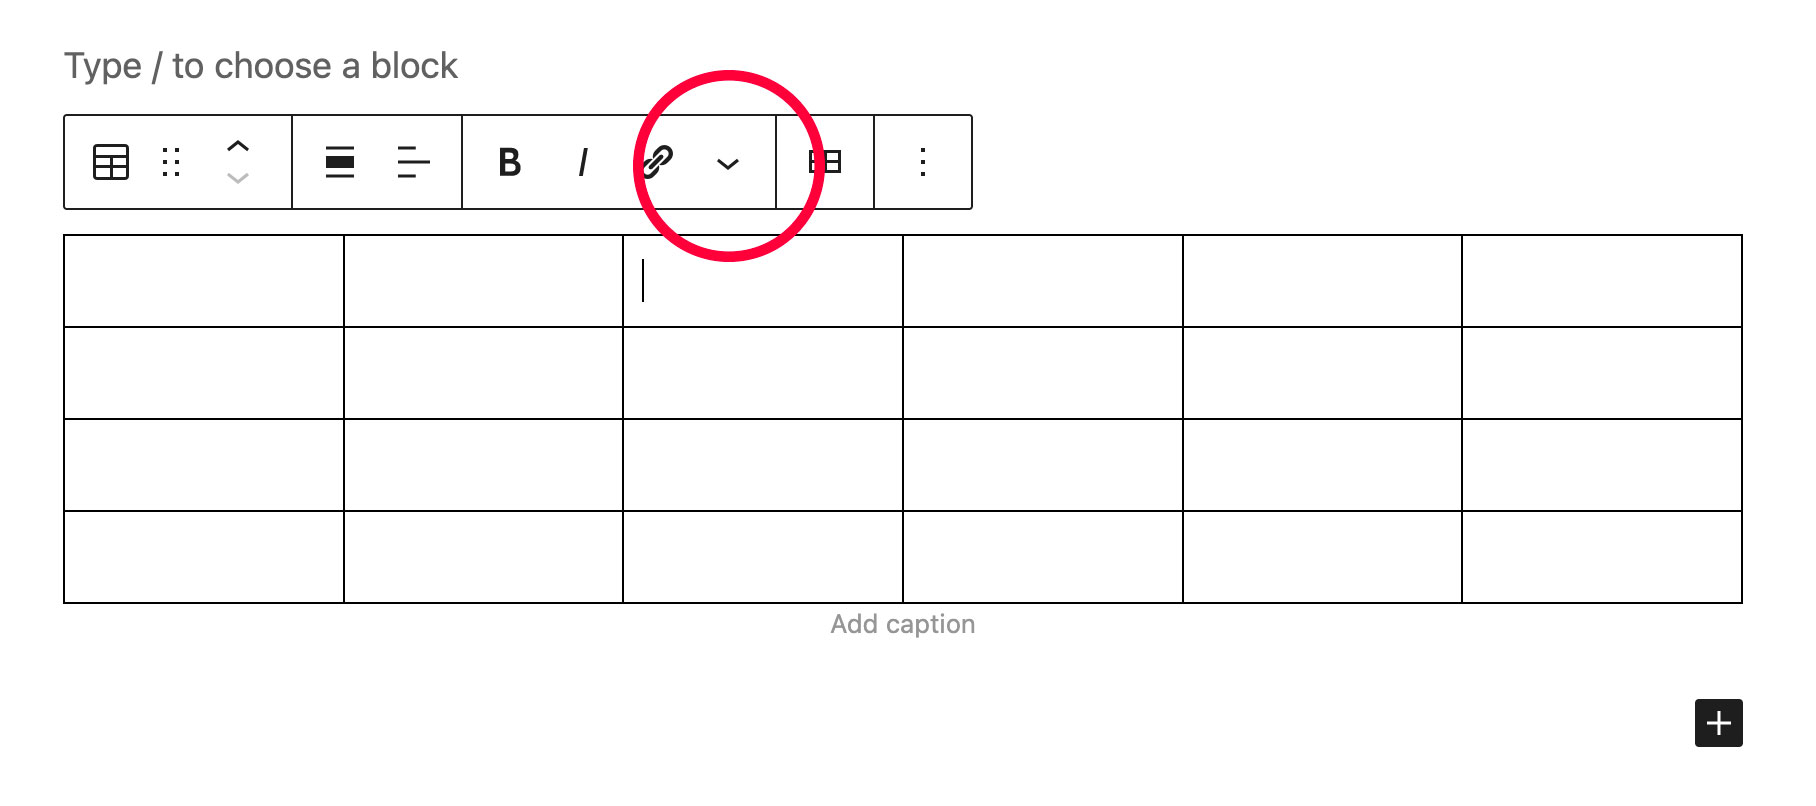
…Click that. Doing so will then reveal an “Inline Image” option:
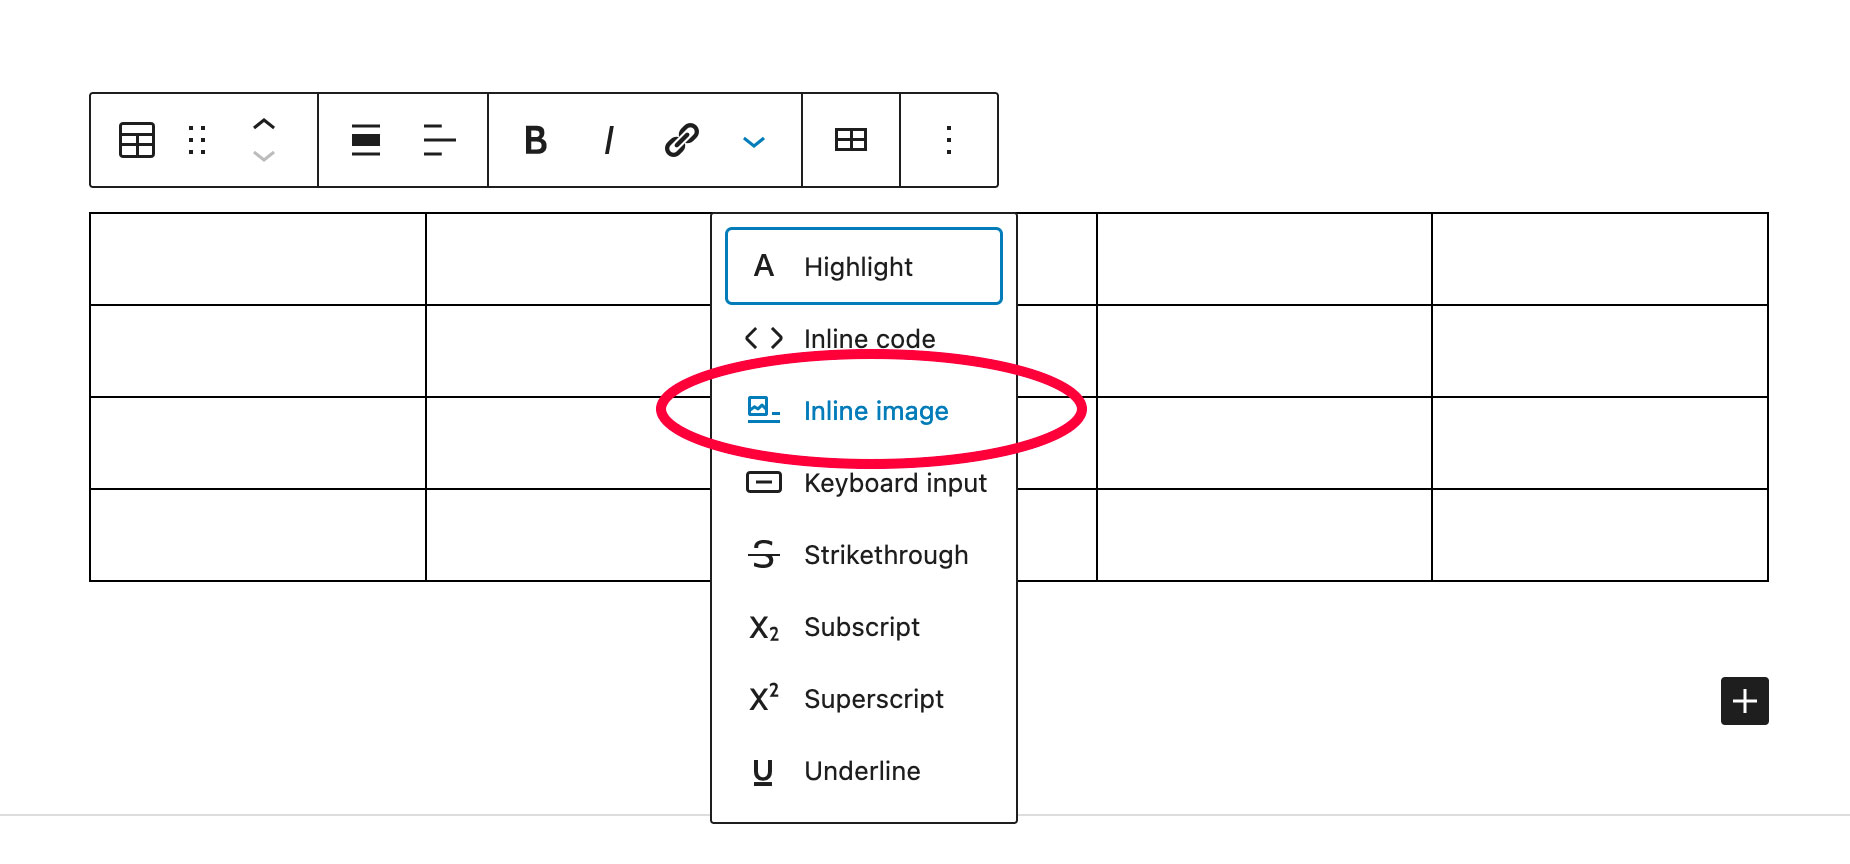
Step 3: Click this and you’ll be taken to the usual/familiar “Select or Upload Media” screen…
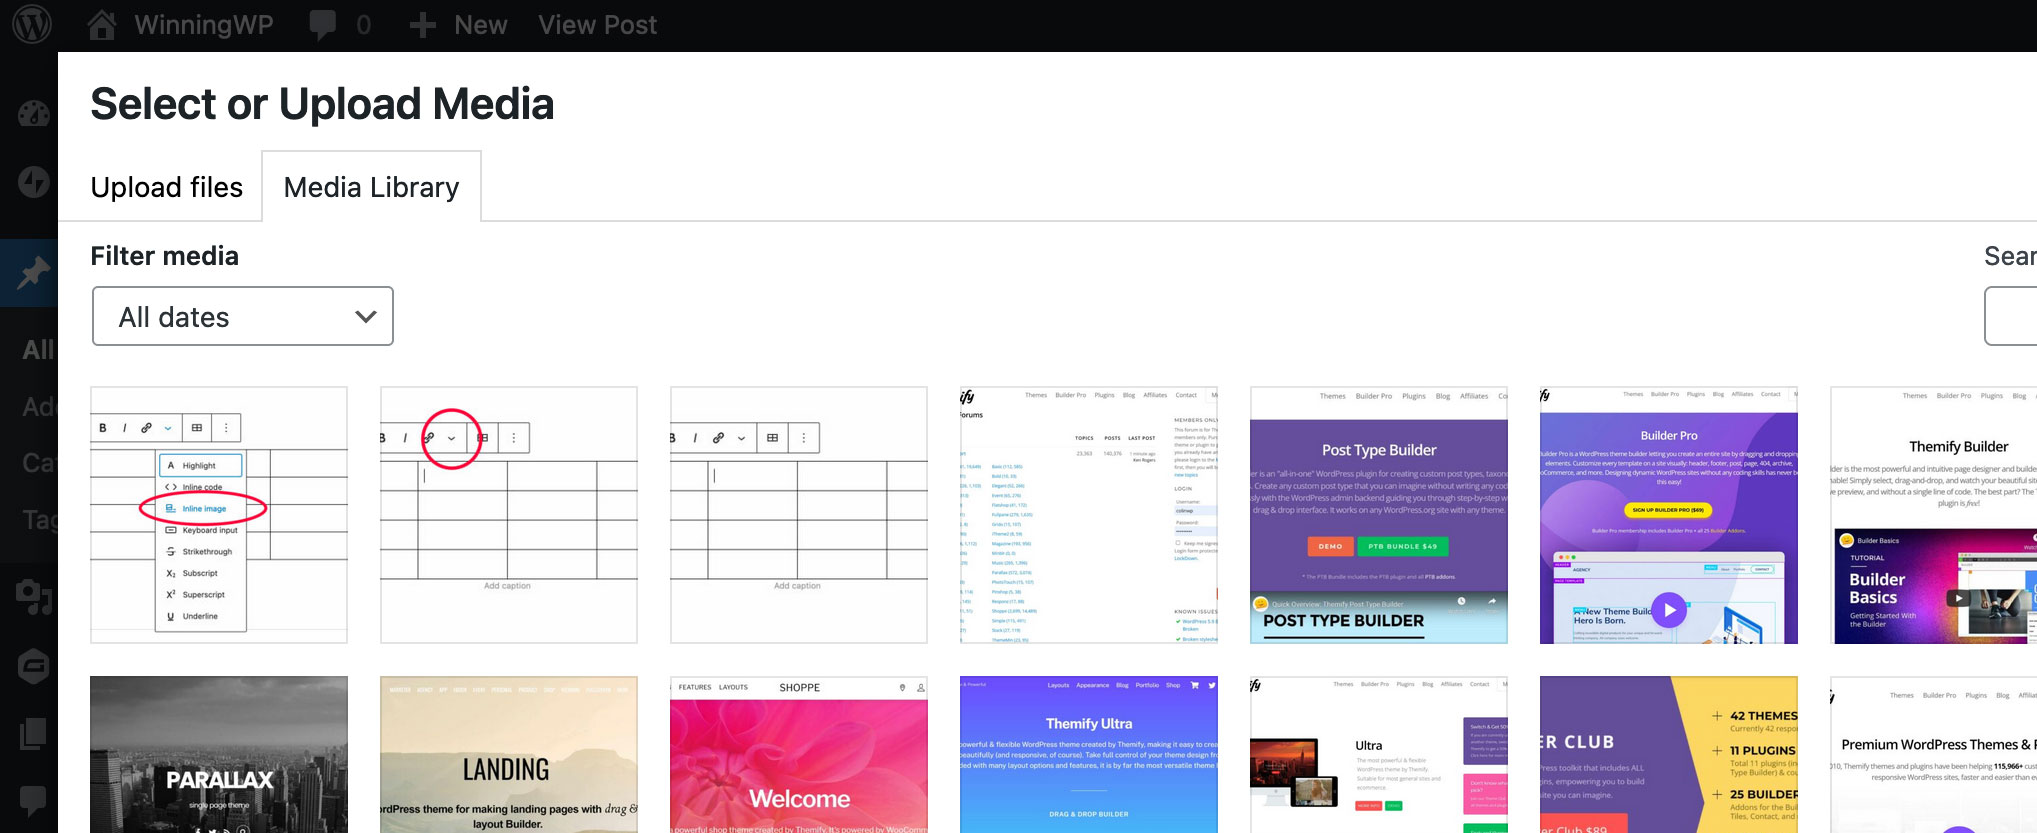
Step 4: Upload your image (just drag it into the window from your computer, for example), and then simply select it.
Your image should then appear in the table cell you initially clicked in.
Like so:

Finished!
Easy when you know how, but all so frustrating when you don’t!
Related Posts:
By
TOP DEALS


Leave a Reply
All comments are held for moderation. We'll only publish comments that are on topic and adhere to our Commenting Policy.
Worked, thanks.
Do you by any chance know how how to add a button to the table?
I am making a price comparison table with images on the left, then some columns with data, then I would like to have a column where each row has an apply here button (with URL).
You might want to try looking at pre-made patterns instead of a table. The Twenty Twenty Three theme has some built in.
Was so simple. Thanks for this tutorial. I was getting frustrated not being able to get an image into my table.