
How to Add/Delete Rows/Columns In a Table in WordPress
If you’ve just spent some significant time creating a table in WordPress and now realized you’ve miscalculated the number of required rows or columns and need to insert/delete rows and/or columns you’ll no doubt be wondering “How?!” – and likely also feeling quite frustrated!
Don’t worry. It’s actually really easy (once you know how) – DO NOT redo the table from scratch!
Here’s what to do:
(note: we’ll do this for how to add/remove rows, but the process for columns is the same)
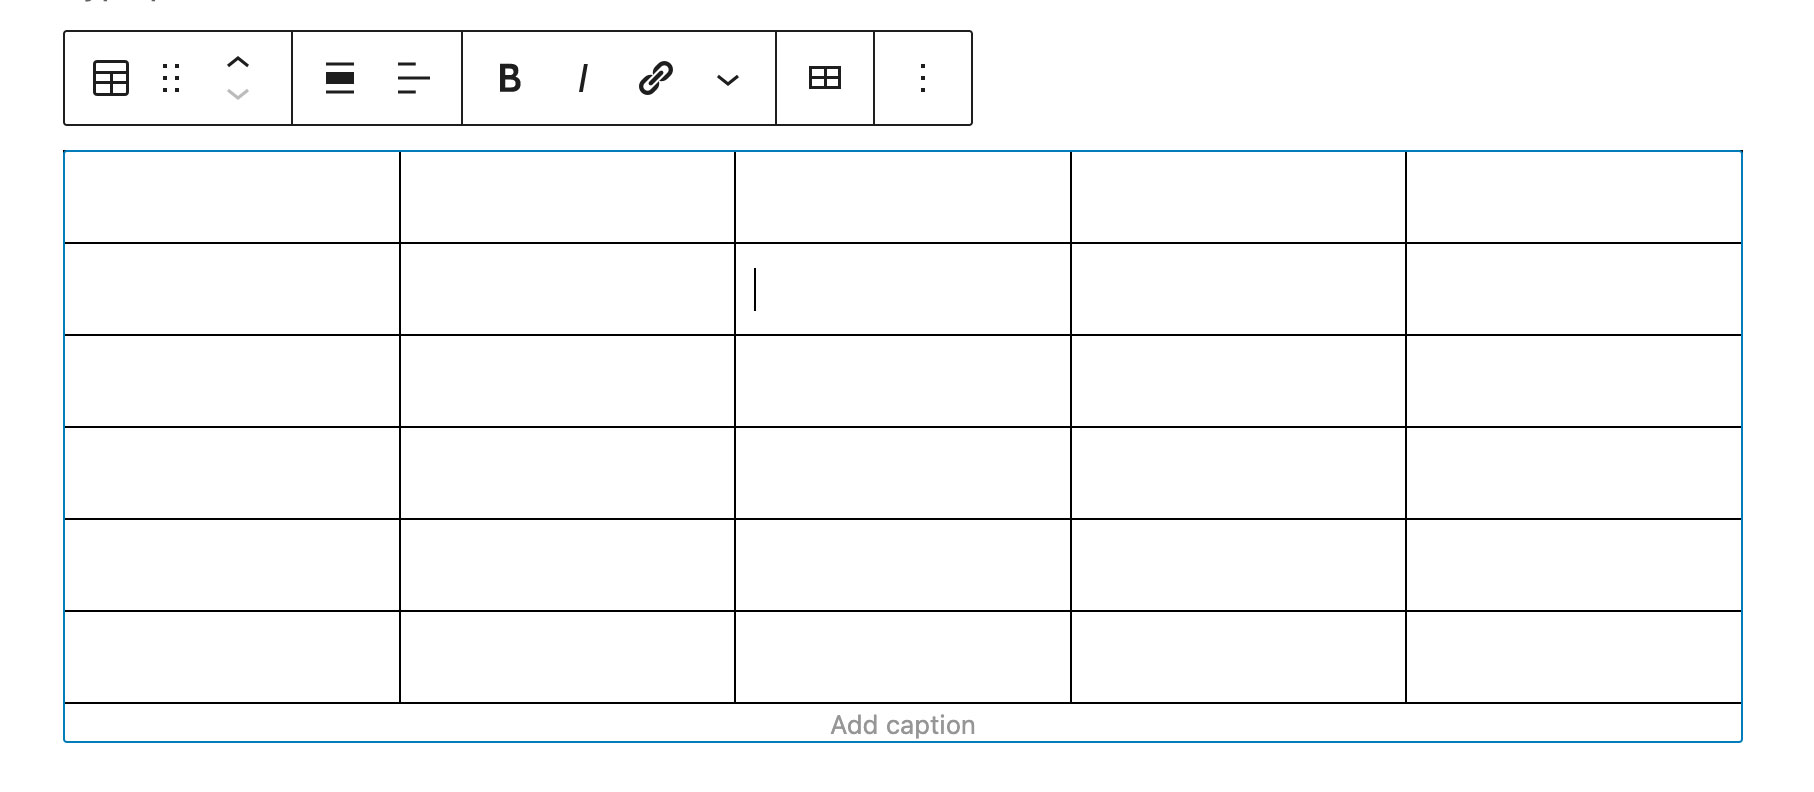
Step 1: Click in a table cell next to where you want to add a new row:
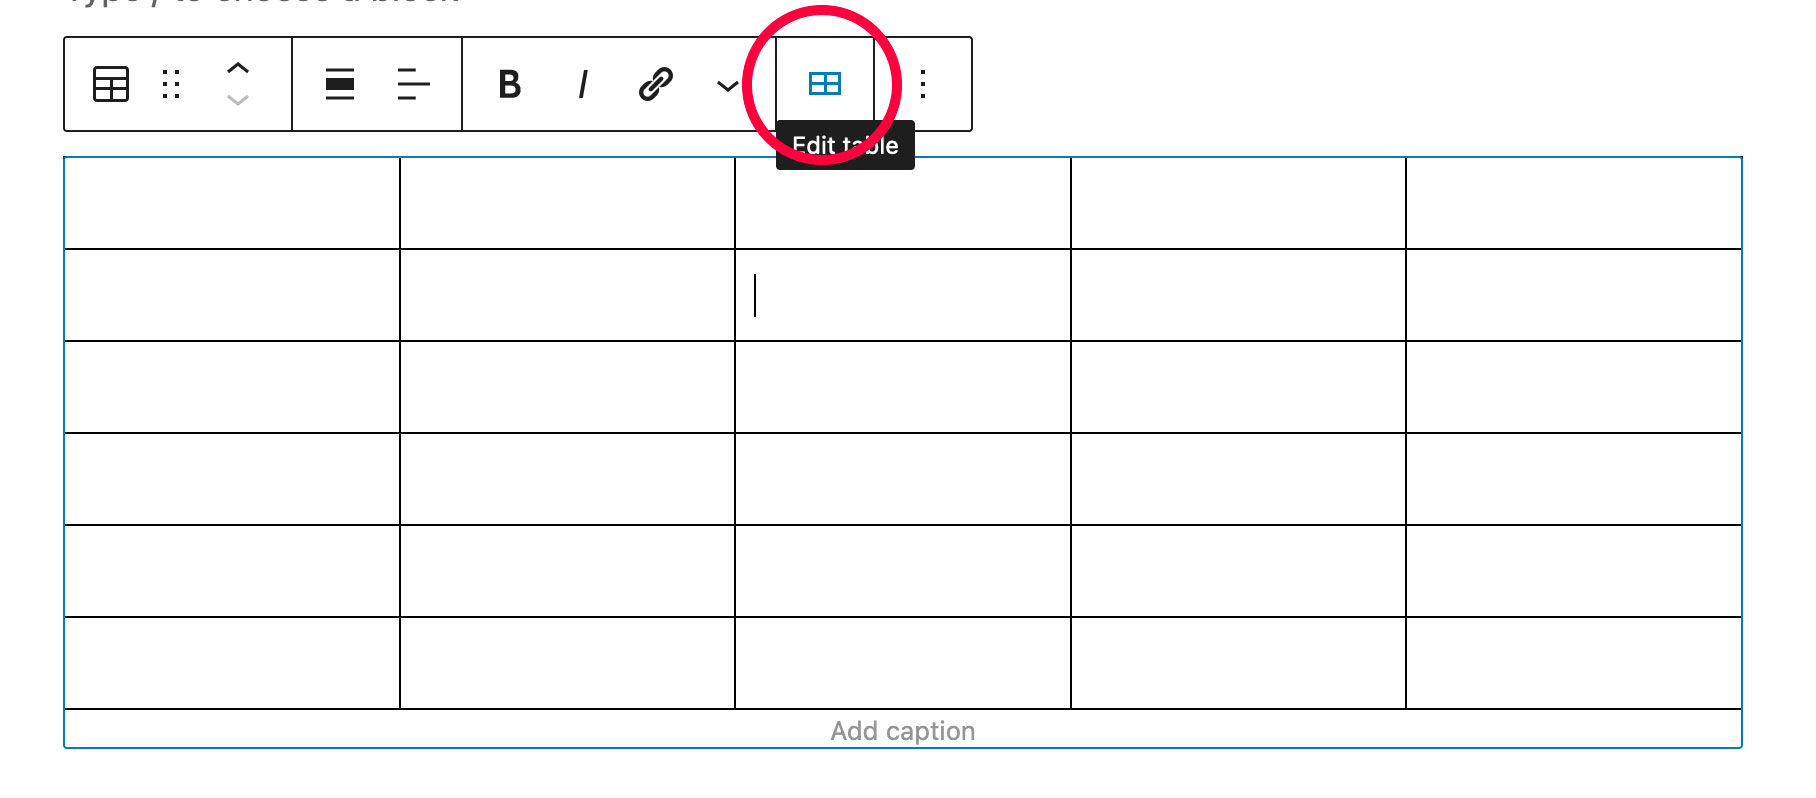
Step 2: Click the “Edit table” icon in the menu:
Step 3: And hey presto! This then brings up all the Insert/Delete rows/columns before/after options you’ve been looking for!
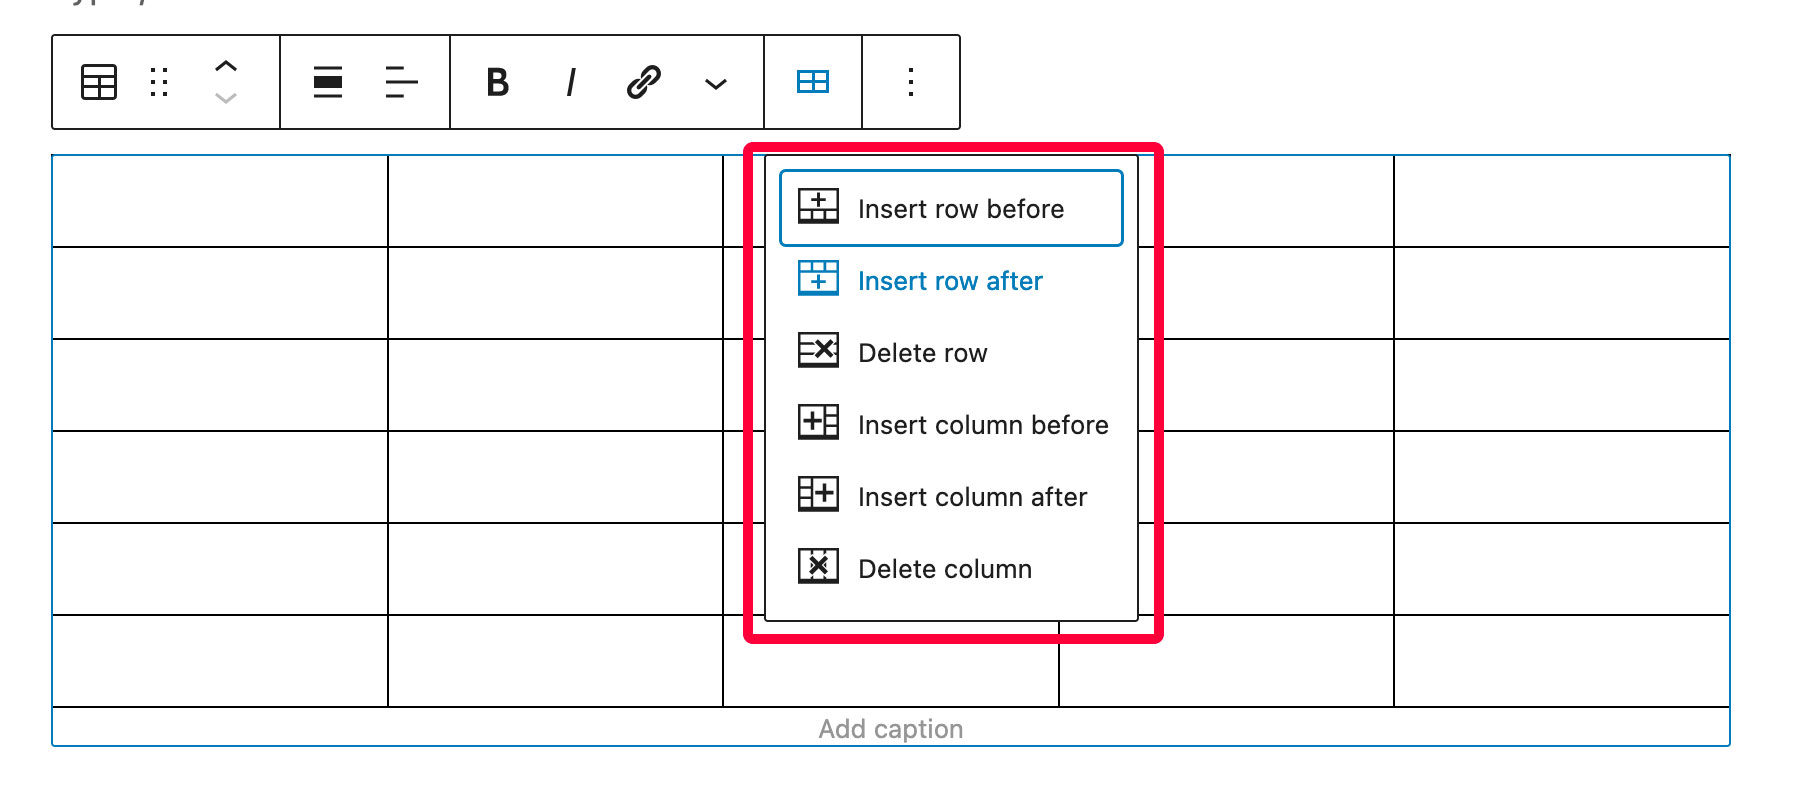
Step 4: Now simply choose whichever option you need. Let’s add our new row:
So simple!
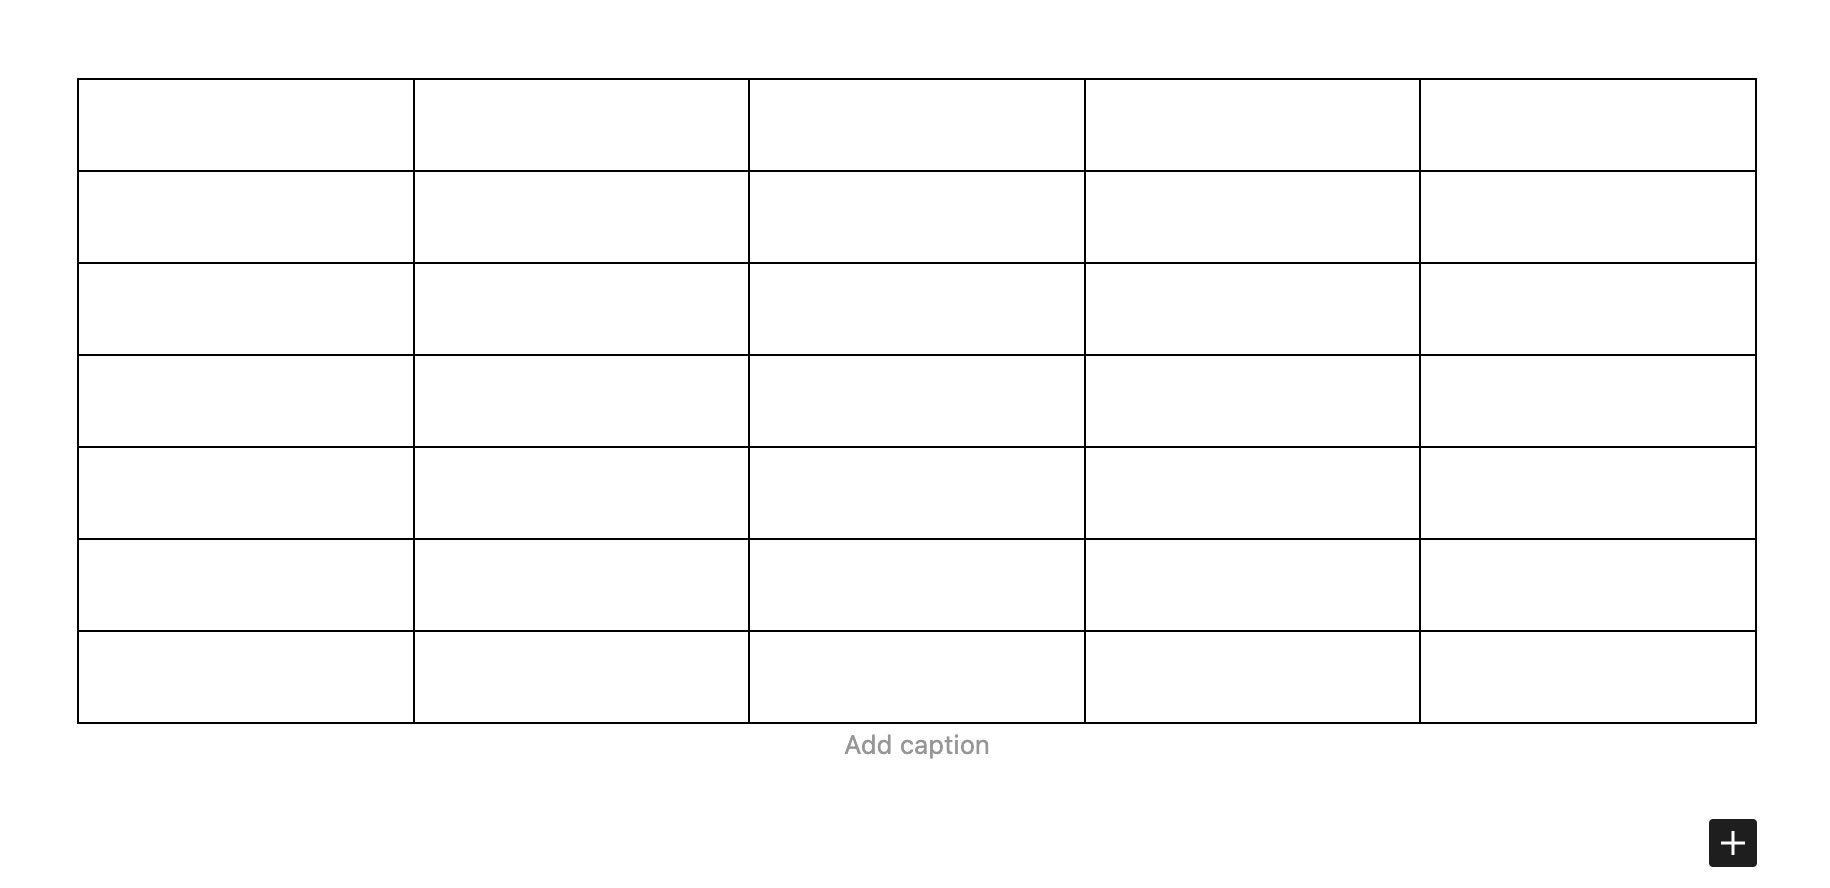
Finished!
Easy when you know how! 😏
Related Posts:


All comments are held for moderation. We'll only publish comments that are on topic and adhere to our Commenting Policy.