
Meta Slider (Free) vs Meta Slider Pro – Plugin Review – Is it Worth Going Premium?
- By
- Last updated:
- Leave your thoughts
MetaSlider is one of the most popular slider plugins for WordPress with over 600,000 active installs, but how well does it work? This MetaSlider review will take a close look at both the free and paid versions of this plugin to figure it out.
We’ll explore:
- Slideshow creation and customization in the free version of MetaSlider
- MetaSlider Lightbox add-on
- Support and documentation
- Advanced slides and customization options of MetaSlider Pro
- MetaSlider Pro pricing
Let’s get started!
MetaSlider review: the free version
This section of our MetaSlider review will focus on the free MetaSlider plugin, which you can access by going to Plugins > Add New in your WordPress dashboard and searching for “MetaSlider”.
Slideshow creation and customization
MetaSlider will automatically direct you to a page where you can create your first slideshow after you activate the plugin. You can either upload images to create a slideshow of your own or have MetaSlider create a sample slideshow for you.
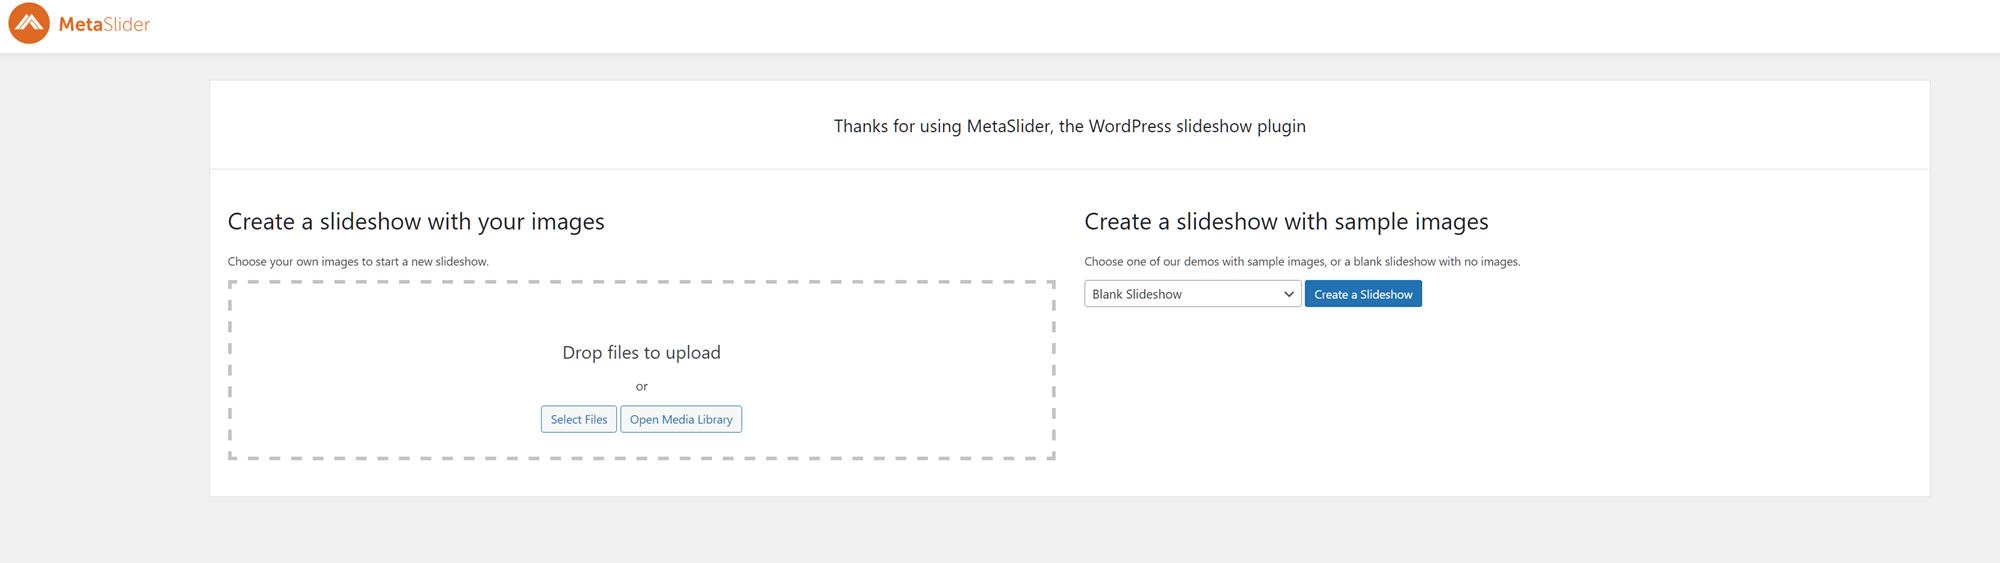
There are three slideshow types built into the free version of MetaSlider:
- Image slideshow
- Carousel slideshow
- Carousel slideshow with captions
I had MetaSlider create an image slideshow for me so I could start working with the MetaSlider editor right away.
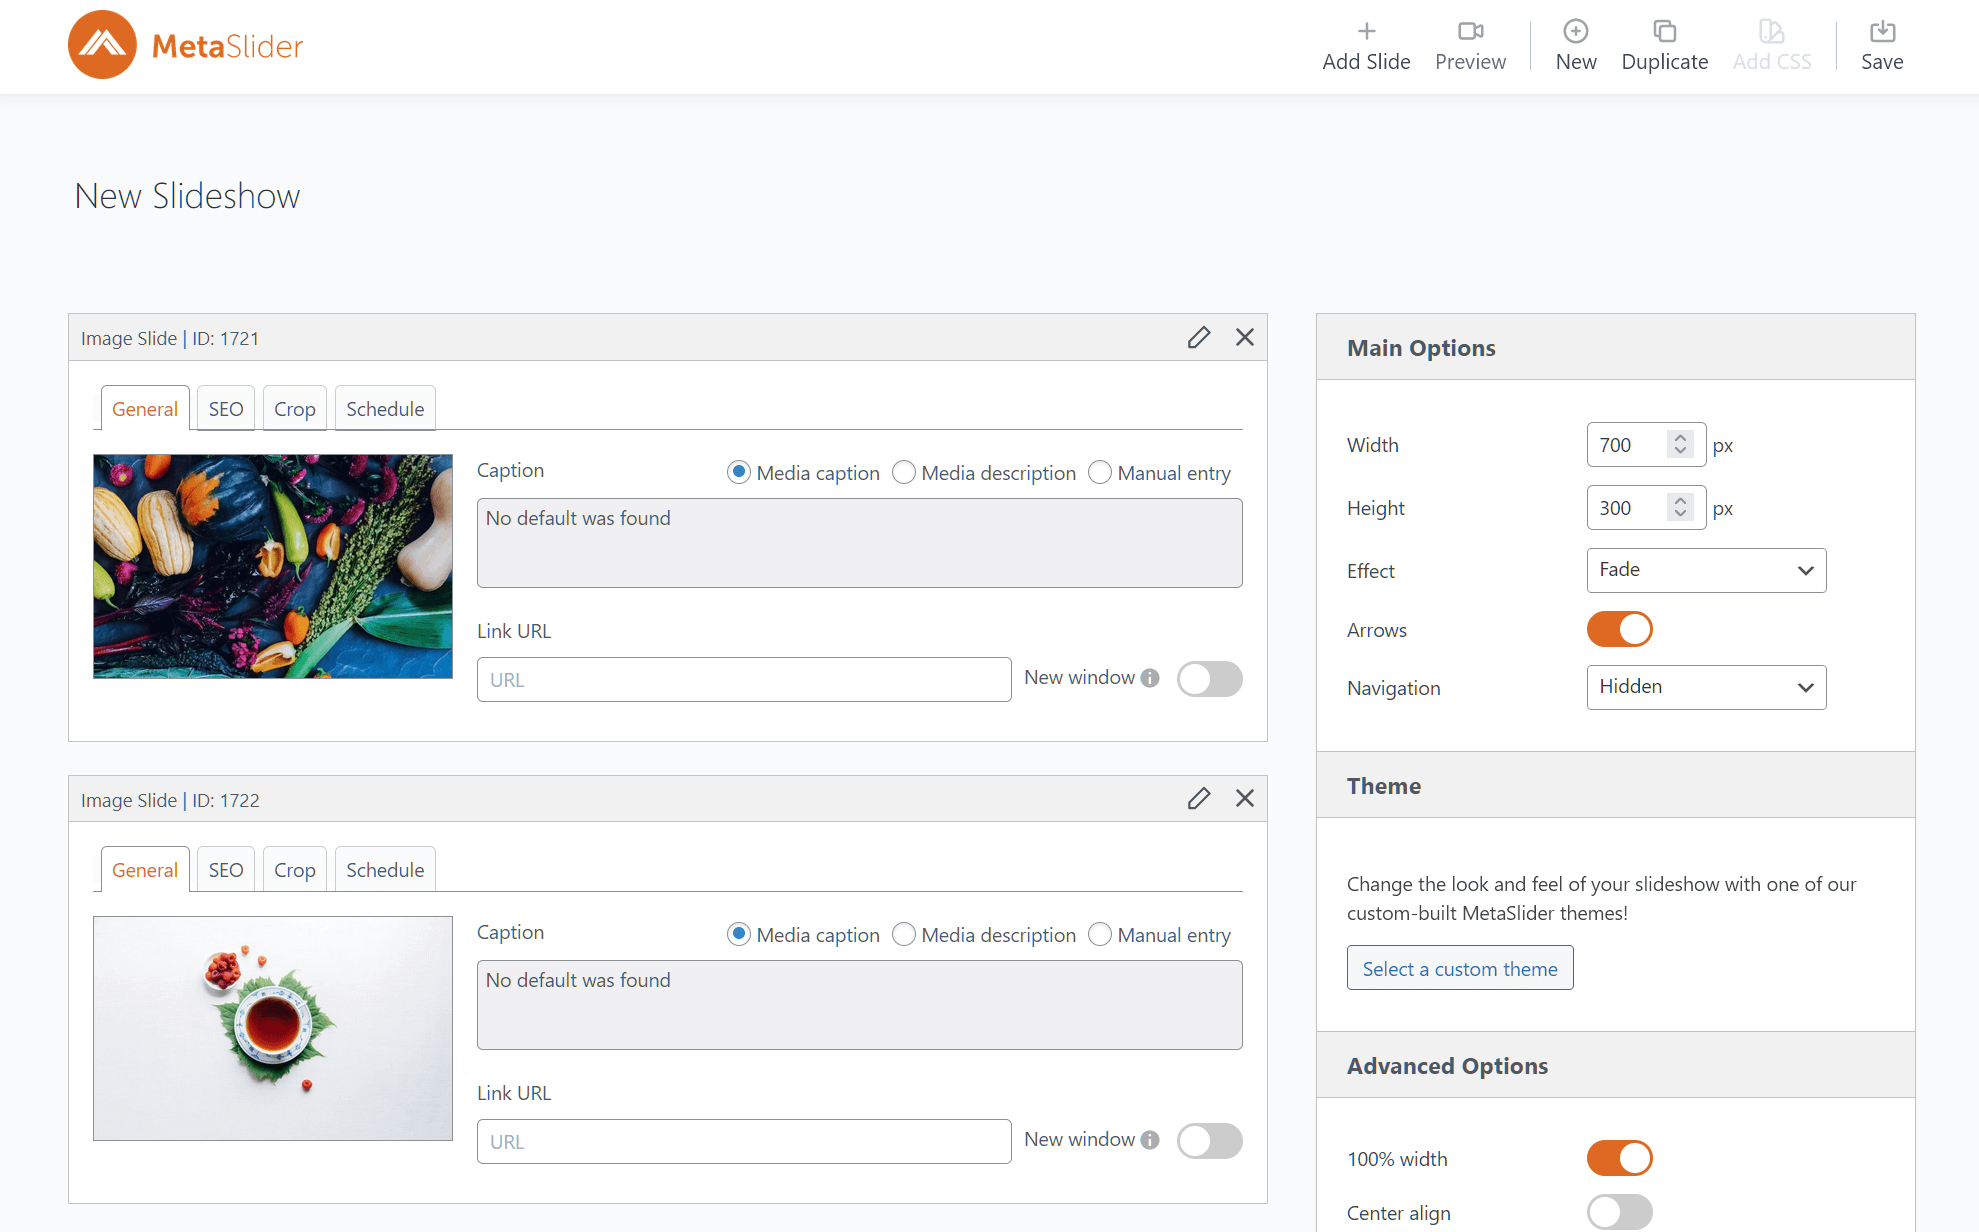
This editor consists of three areas:
- A top bar where you can add images, preview your slideshow, create a new slideshow, or create a copy of the slideshow you’re working on. You can also save your progress here.
- The main editing area where you can view and crop images, control captions and associated links, and optimize image SEO.
- A sidebar where you can customize the overall appearance of your slideshow.
Let’s take a closer look at how each of these functions work!
Adding a slide
To add a slide, click the +Add Slide button at the top of the page and select an image from your media library (or upload an image) the same way you would to add an image directly to a page.
You can also add key information about your image here, like alt text and a caption. The caption you add here will be automatically set to appear as the caption for this image in the slideshow.
If your image appears in multiple places, you might want to use a specific default caption when it appears in a post or page and a separate caption for the slideshow. To do this, find your slide in the editor and choose Manual entry from the caption options.
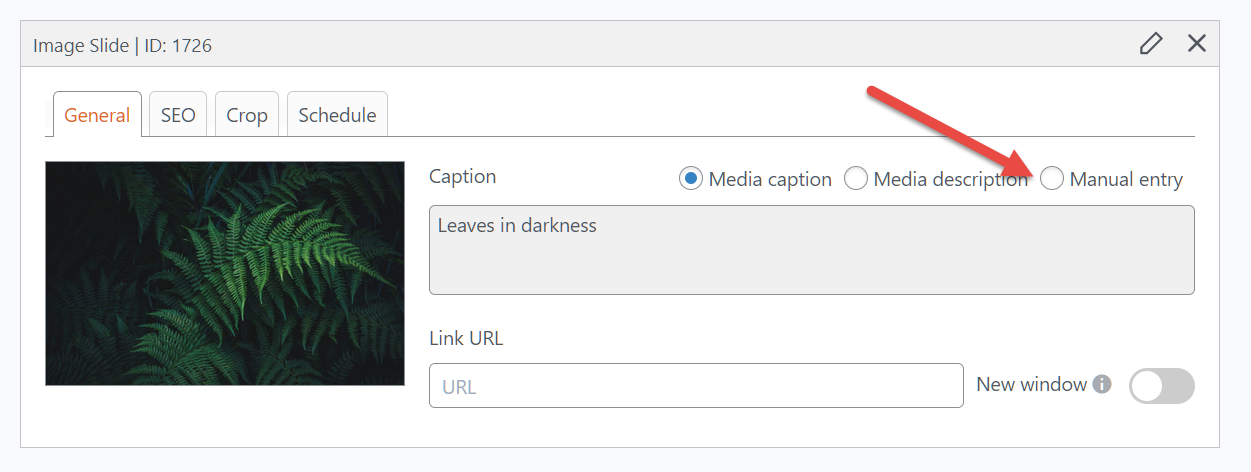
You can then type in the unique description you want to use for the slideshow caption. You can also use this feature to link the slide to a specific page, such as a relevant product page, and set it to appear in a new window.
Cropping your image
MetaSlider also lets you customize the appearance of your image by cropping it. There are numerous options in the Crop tab of the slide display, including Top Left, Center right, and Center bottom.
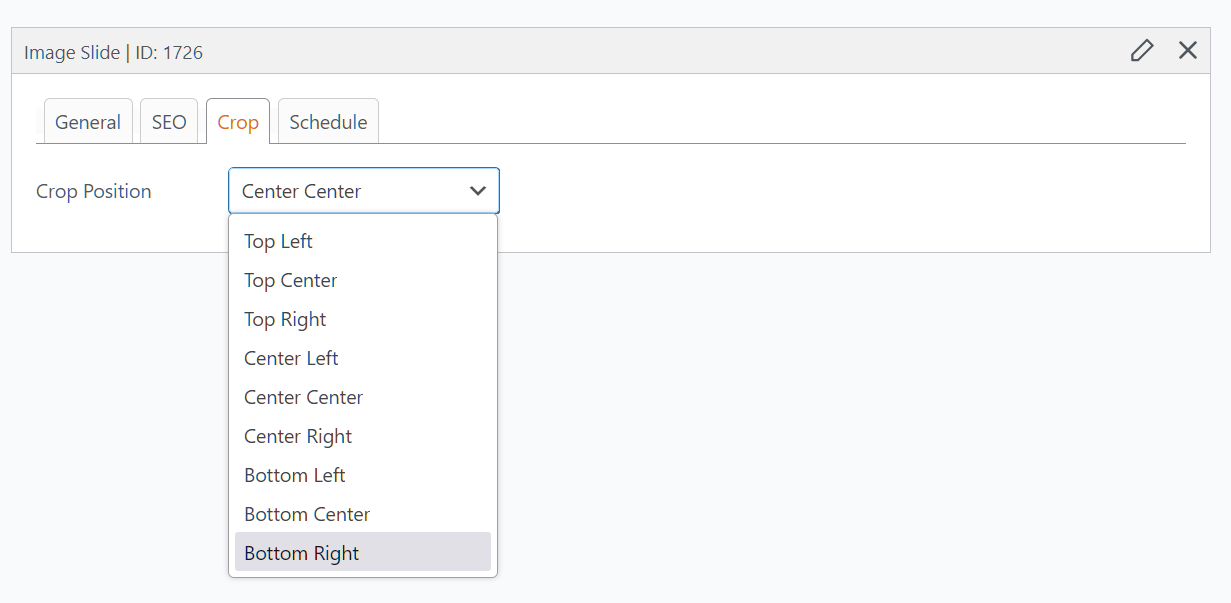
Note that adjusting this setting won’t change the thumbnail visible in the slide box. You’ll have to preview the slideshow to see what the cropped image looks like.
Here’s an example of our original image of leaves cropped to Bottom center.

Optimizing a slide’s SEO
MetaSlider also makes it easy to customize the file name and the alt text connected to this image in your slider. You can do this by clicking on the SEO tab of a specific slide and turning off the Use the image title and Use the image alt text settings, then manually inputting new information into these fields.
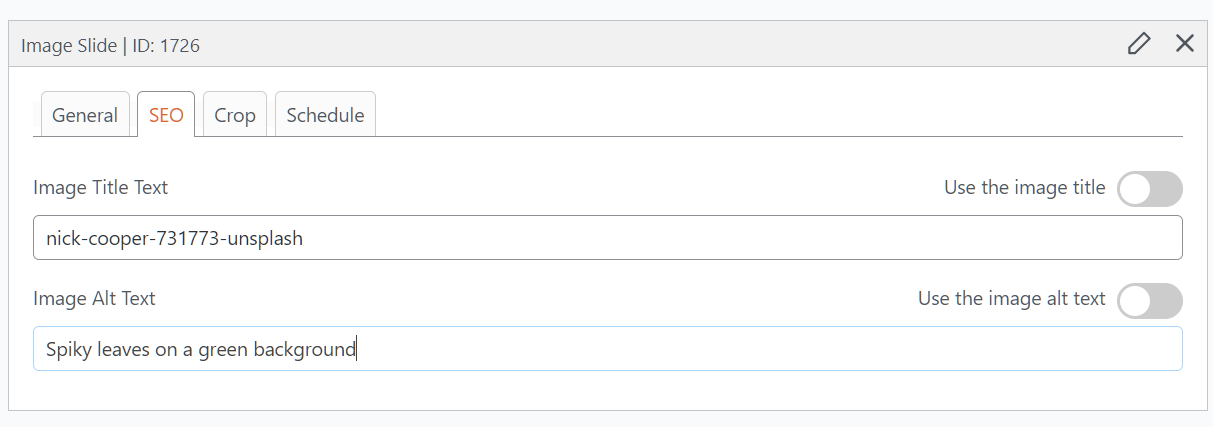
This allows you to target different keywords than the ones you use when you input this image into a post or page.
Customizing your slider’s overall settings
Another thing I was happy to see during my MetaSlider review was the number of options for customizing your slideshow’s overall appearance.
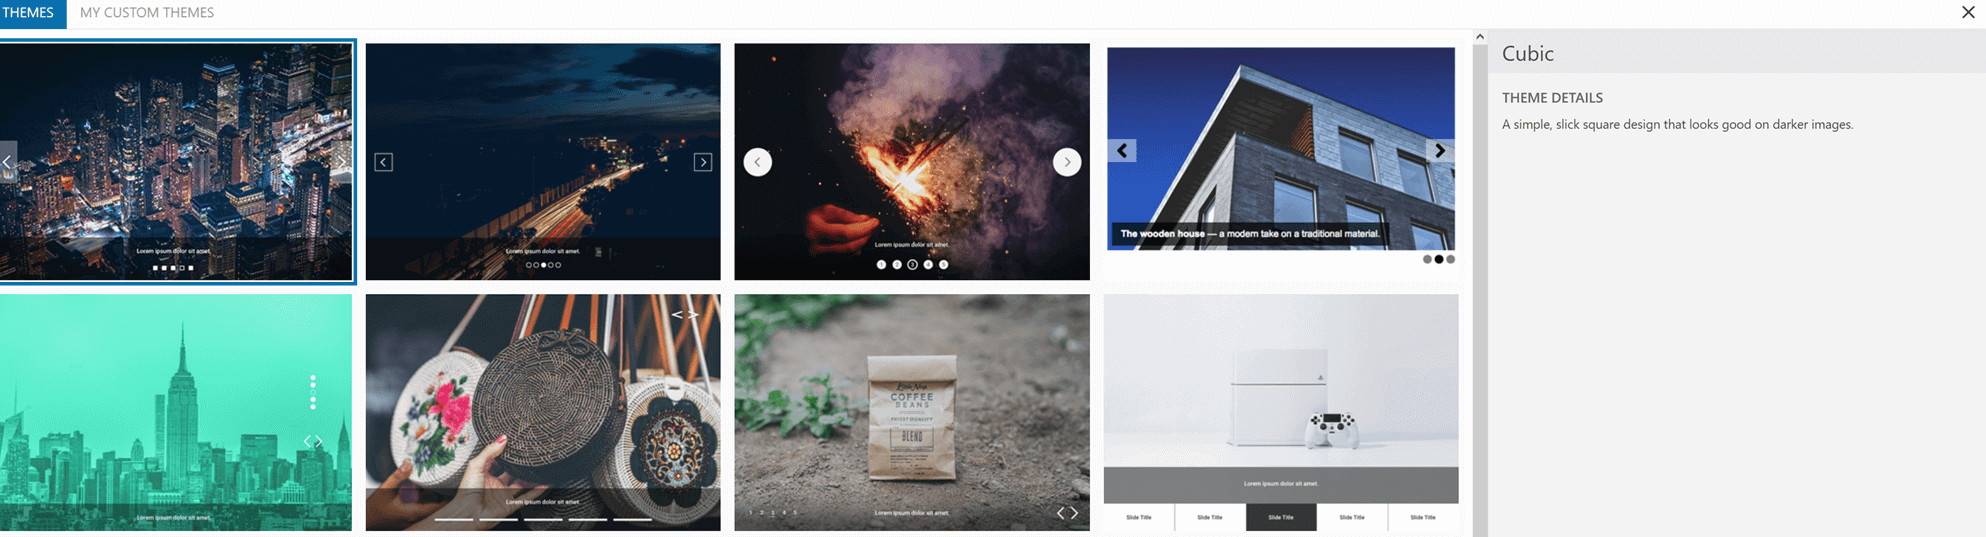
My favorite of these customization options are the themes, which alter how the arrows, captions, and other key elements of your slider appear.
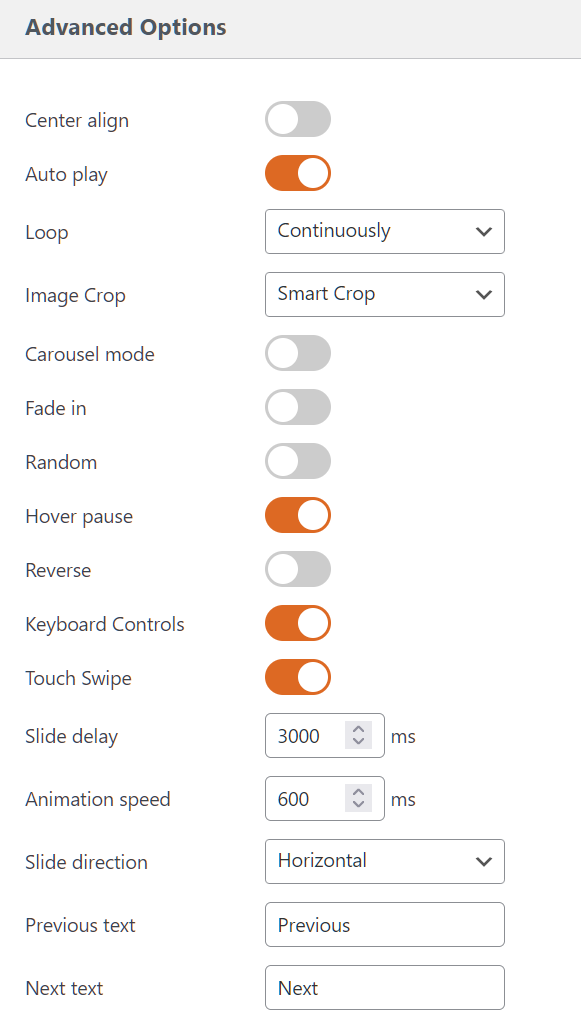
I’m also a big fan of the Keyboard Controls setting, which allows users to switch between slides by pressing arrow keys. Similarly, the Touch Swipe feature allows mobile users to switch between slides by swiping left or right. These settings are found in the Advanced Options area, along with settings for things like slider size, image alignment, and the effect used to transition between images.
Customizing MetaSlider settings
The next thing I looked at for my MetaSlider review was the Settings area of the free plugin. You can customize several things here, such as the base width and height of slideshows, but there are two settings that really stand out: gallery settings and mobile settings.
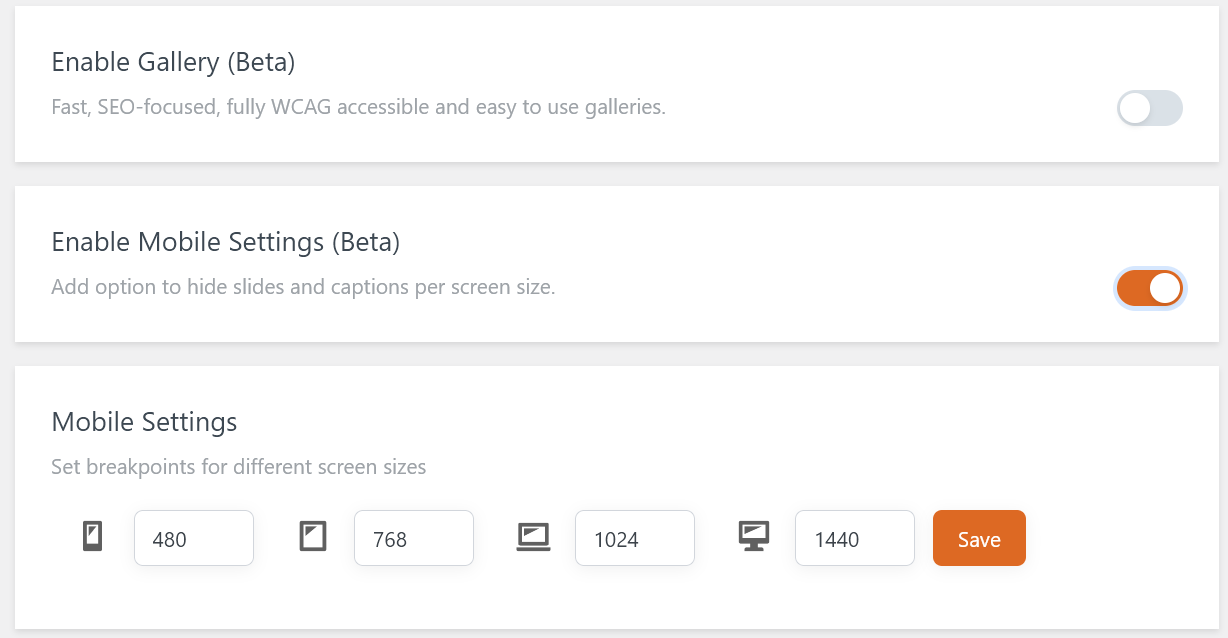
Enabling the gallery setting tells MetaSlider to automatically create a new, SEO-optimized WCAG-compliant gallery. This makes it easier for both people and search engines to access your images.
Enabling the mobile setting tells MetaSlider to add an option for hiding slides and captions on screens of various sizes. You can customize the screen size options here, then head back to your slideshow and choose the screen types you don’t want to display images or captions on.
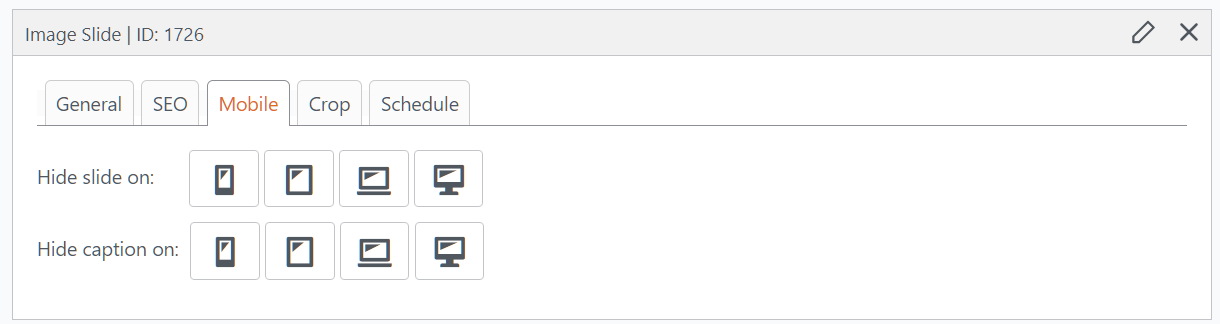
This can help you ensure a smoother browsing experience (and faster load times) on mobile devices.
MetaSlider Lightbox add-on
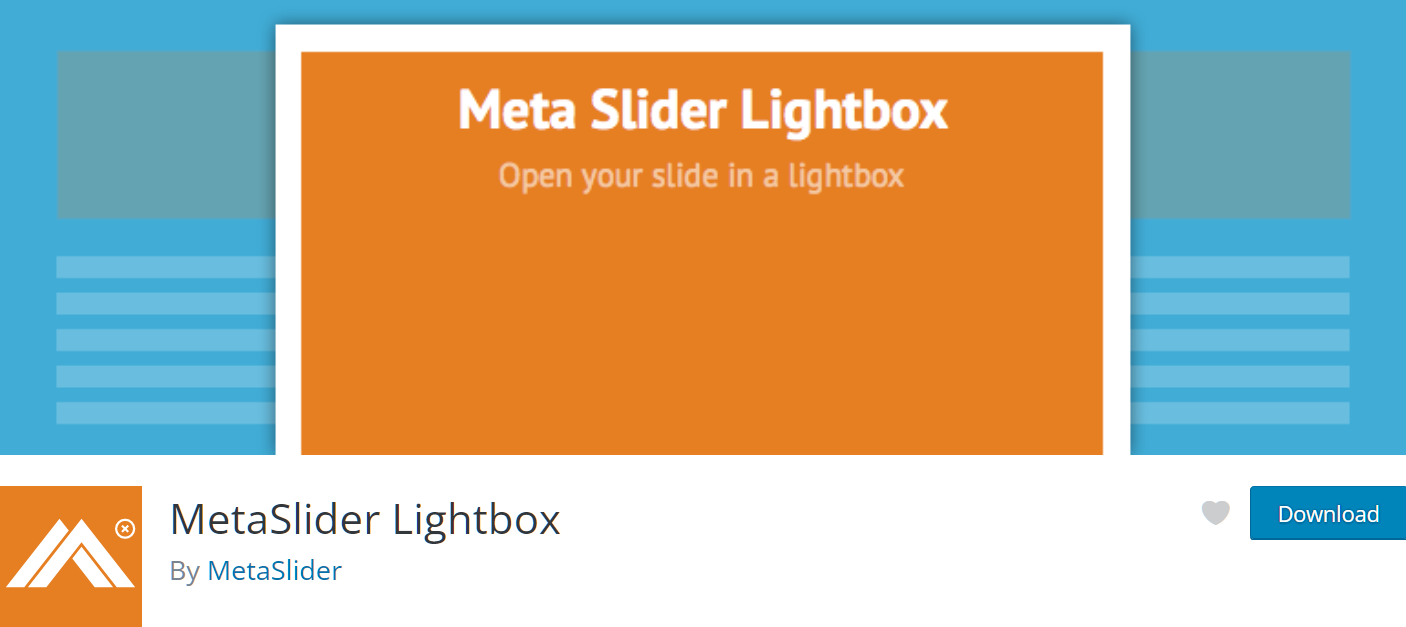
This MetaSlider add-on from Matcha Labs gives you the option of setting your slides to open in a lightbox window when they’re clicked on by a user.

This simple but effective add-on can make it easier for your visitors to view your slideshow content — especially if your images are larger than the size of your slider.
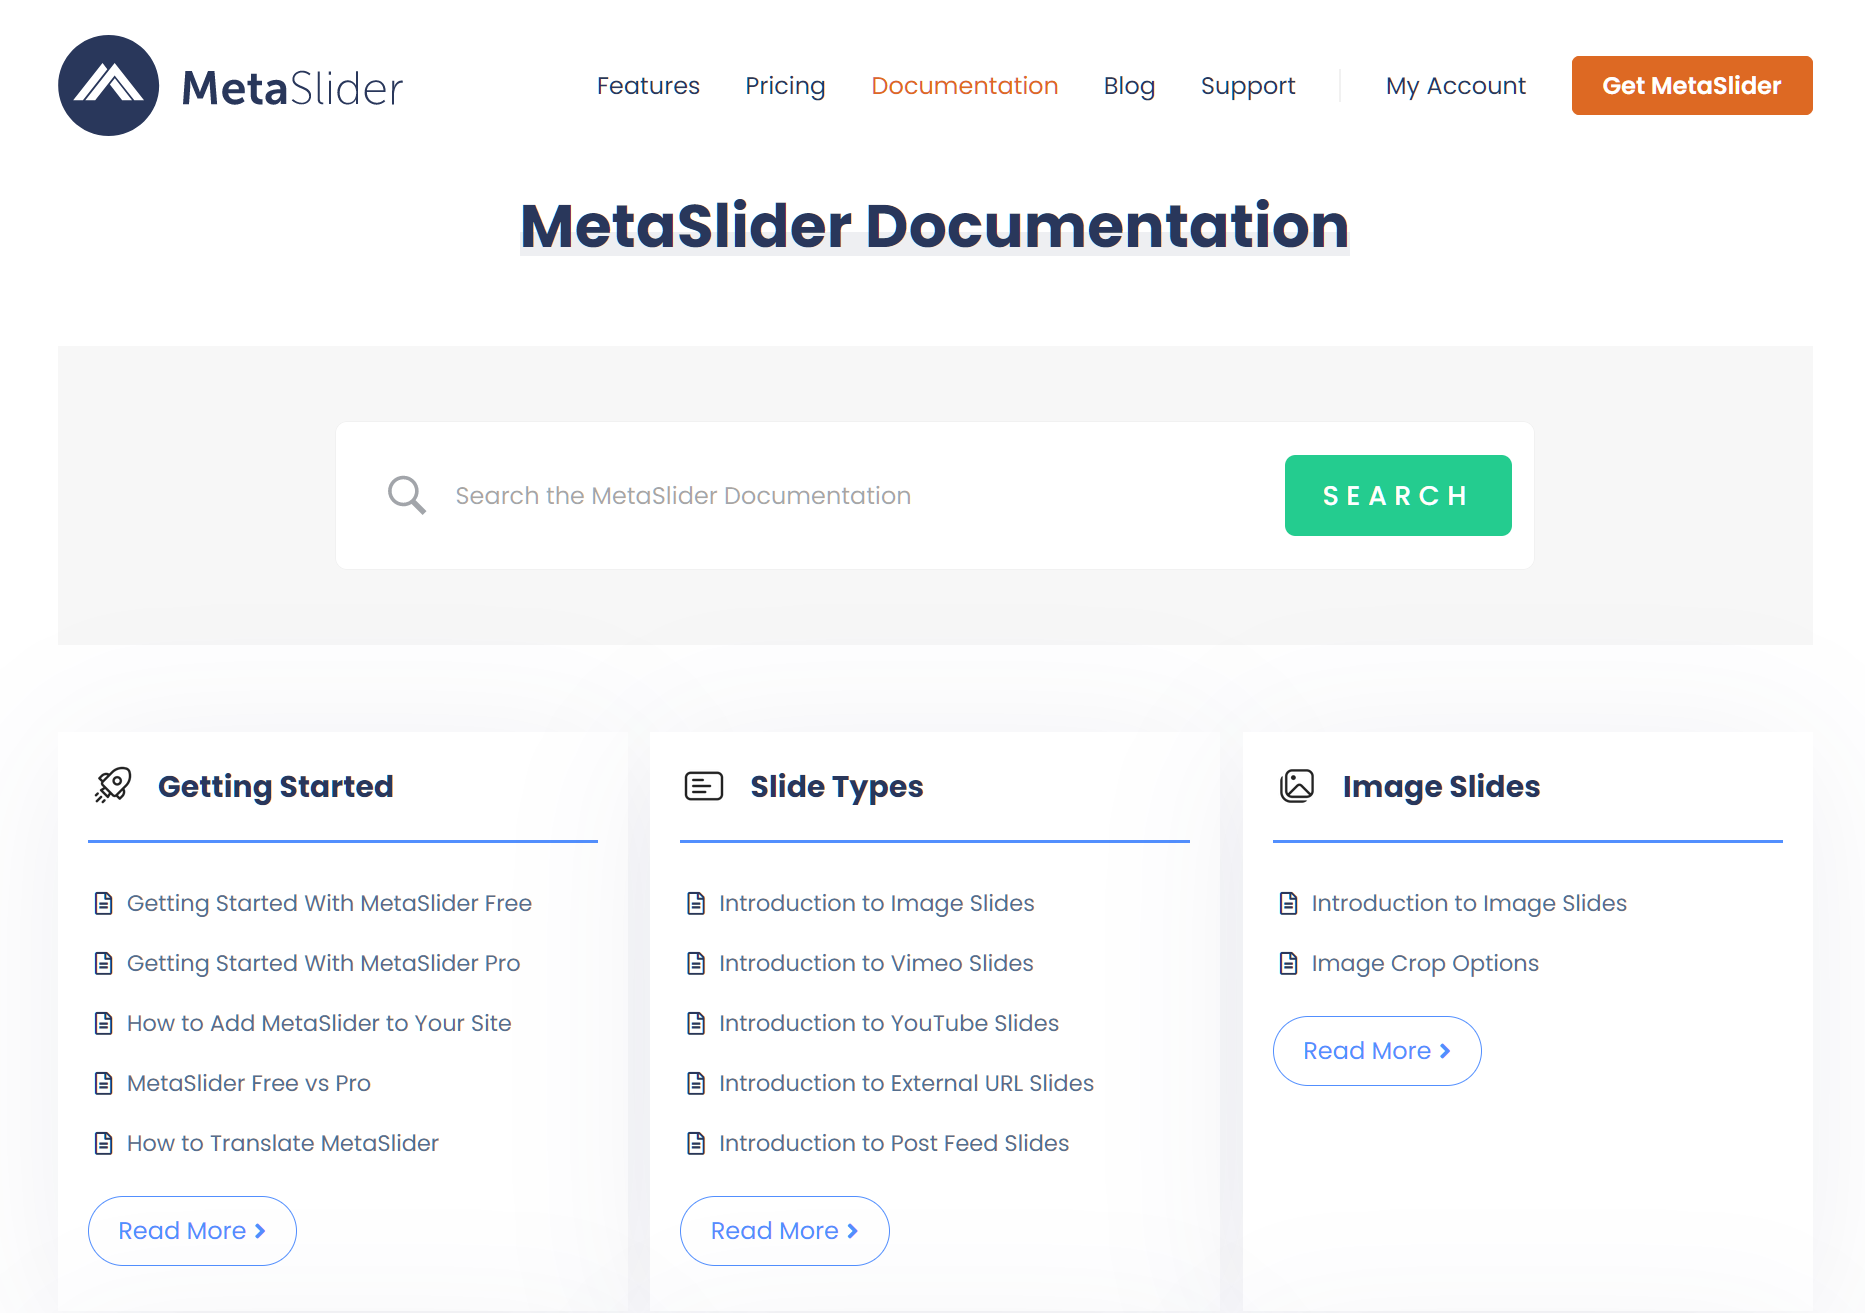
Support and documentation
No MetaSlider review is complete without looking at the support and documentation options available.
The MetaSlider online documentation will help you get the most out of this plugin. Both the free and premium features are covered, and the documentation explains everything from getting started to integrating MetaSlider into your WordPress theme.
While MetaSlider Pro license holders can access premium support via email, users of the free plugin can post their questions in the public MetaSlider forum at the WordPress Plugin Directory.
MetaSlider Pro review

The next stage of my MetaSlider review was taking a close look at MetaSlider Pro. This is its own plugin, so in order to use it, you’ll need to buy the paid plugin, download it to your computer, and then upload it to your site by going to Plugins > Add New and clicking Upload Plugin. This will open a box where you can upload the .zip file.
Note: In order to use MetaSlider Pro, you need to also have the free MetaSlider plugin on your site. Be sure to install both!
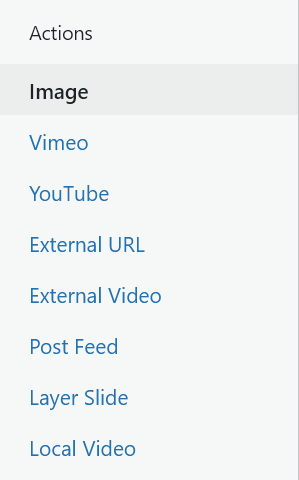
MetaSlider Pro slide options
MetaSlider Pro lets you add several new types of slides:
- Videos from Vimeo or YouTube
- Images from external URLs
- Videos from external URLs (other than Vimeo and YouTube)
- Post Feed slides, which can be used to display blog posts, WooCommerce products, and events created in the Events Calendar plugin.
- Layered slides
- Local videos
These options are easily accessed on the left side of the media library that opens when you click Add Slide.
Most of these slides are pretty straightforward. You click on the listing you want, then enter a URL or upload a file as directed.
The Layer Slide is a bit more complicated. You start by selecting an image the way you usually would. If you only take this step, your slide will appear as a regular image slide.
To turn it into a layered slide, find the slide’s info box and open the Layer Editor.

This allows you to layer text, links, HTML, and additional images over the original slide. You can also use the Animation settings to make each layer appear and disappear in a different way. For example, you can have it bounce into sight and then bounce back out of sight after a few seconds. This is a great way to make your slides more engaging.
Advanced slide editing
MetaSlider Pro also offers three new areas for editing individual slides:
- Video Background, allowing you to set a video to play in the background of your slide.
- Edit Source, an area for editing the code that makes your slide work.
- Advanced, which allows you to set up a unique delay before the appearance of a specific slide.
These options give you complete control over the appearance and functionality of every slide.
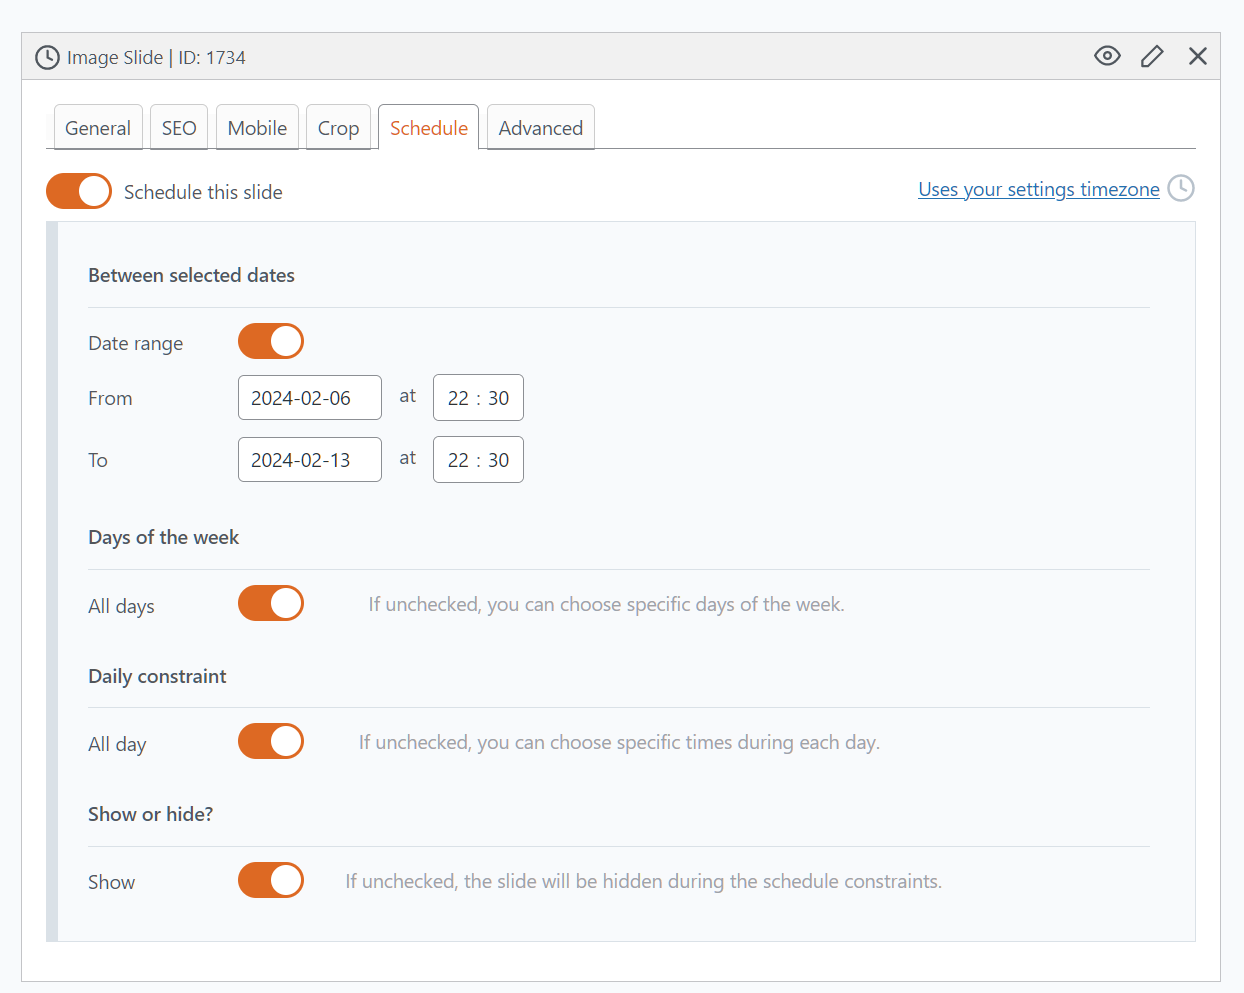
Slide scheduling
MetaSlider Pro also gives you an option for scheduling certain slides. This allows you to control when time-sensitive information, such as a promotion for a holiday sale, is displayed.
Theme Editor
My favorite discovery during this portion of my MetaSlider review was that MetaSlider Pro comes with a Theme Editor.
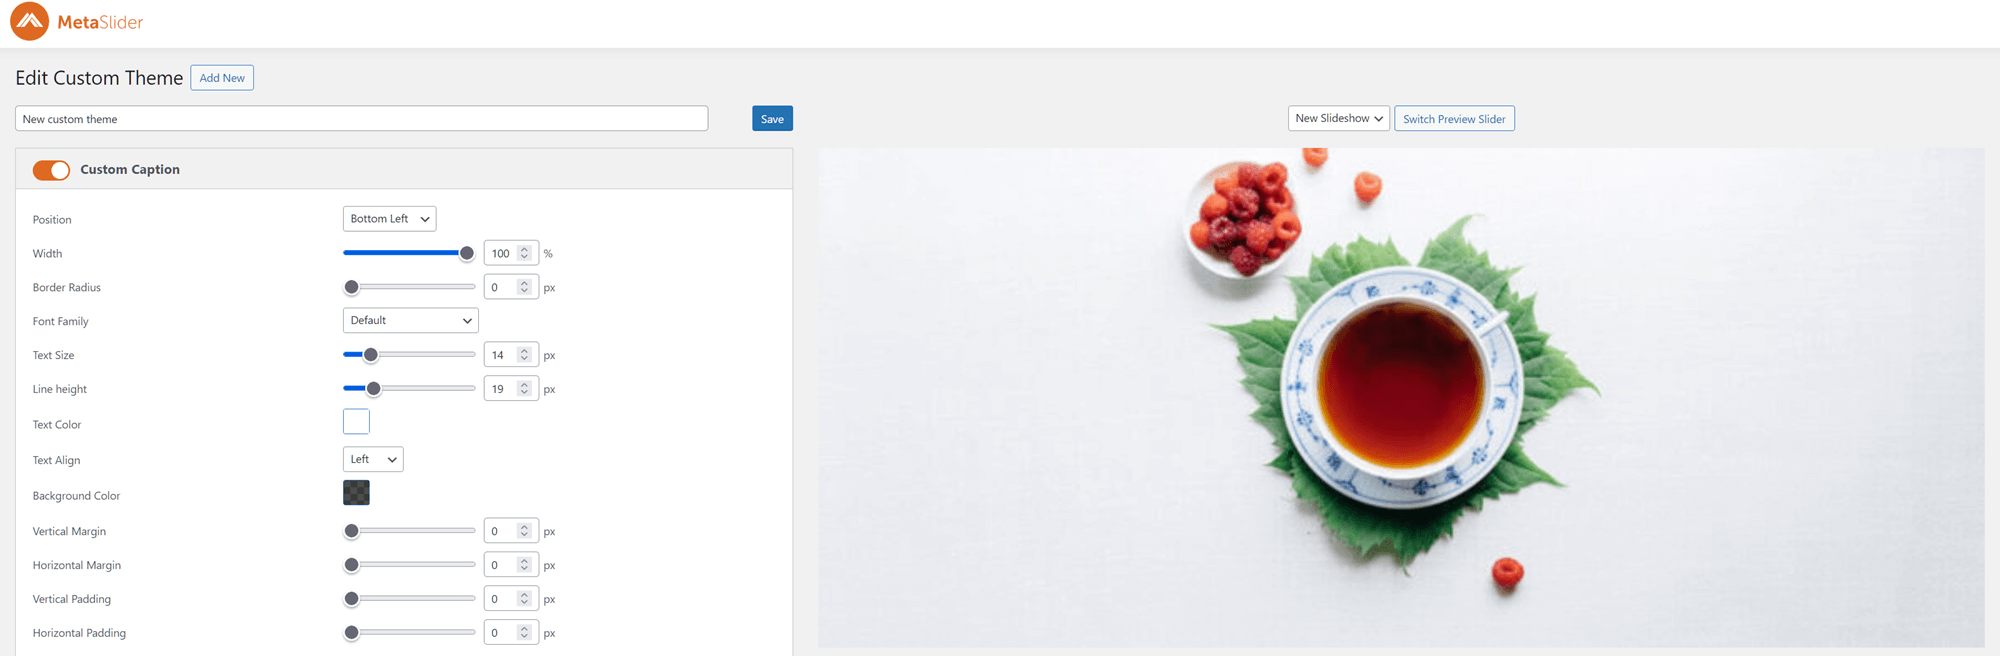
You can set margins, customize caption and arrow appearances, and even change the overall shape of your custom themes in this editor. This makes it possible to give all the sliders on your site a unique, branded feel, or even to create fully unique sliders for specific areas of your site.
MetaSlider Pro pricing
There are three MetaSlider Pro plans. All three give you full access to MetaSlider Pro features. The difference is in the number of site licenses offered with each plan.
For most users, the one-site license is all that’s needed. This costs $79 per year.
MetaSlider review: the verdict
As we’ve seen throughout this MetaSlider review, MetaSlider is an excellent plugin that makes it easy to create and customize sliders for your website in a matter of minutes. You can use the plugin with no technical expertise beyond a basic understanding of how WordPress works. And if your main goal is to create high-quality sliders with regular images, you can stick with the free version of MetaSlider.
MetaSlider Pro expands on these features by providing more slide options, including the ability to feature products and events in slides, and more customization options for the overall appearance of your slideshows. If you want to use sliders to feature different types of content on your site, products, or videos, MetaSlider Pro can be a great option.
However, MetaSlider Pro isn’t necessarily the best slider plugin for WordPress. In fact, there are also two other slider plugins we think are equally worth considering: Slider Revolution and Master Slider.
Slider Revolution offers a more advanced visual editor, 200+ templates for individual sliders and full slideshows, and the ability to use your own fonts. You’ll also get the ability to connect an Instagram or Facebook stream to your sliders. And you can access all of Slider Revolution’s features for a one-time payment of $109. This is a bit more money initially, but there are no annual fees, so you’ll save money in the long run.
Master Slider offers 90+ premium slider templates, options for creating sliders by pulling images from Facebook or Flickr, and an advanced visual editor that allows you to control the exact timings of each slider. The plugin also offers hotspots and SEO tools to help you optimize your sliders for marketing. And it’s available for just $34, making it an extremely affordable alternative to MetaSlider Pro.
Used/using Meta Slider or Meta Slider Pro? Thoughts?


All comments are held for moderation. We'll only publish comments that are on topic and adhere to our Commenting Policy.